
Here, we provide instructions for defining and managing user roles within the CommerceBlitz OMNI platform. We detail the process for navigating the Account Settings menu, creating new roles with specific permissions, and editing existing roles to ensure appropriate access for individual user accounts.
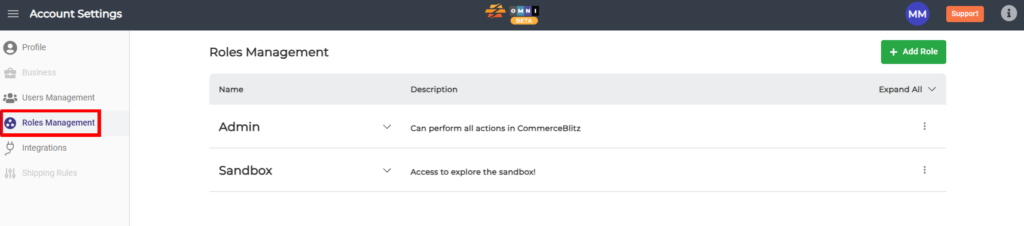
The Account Settings -> Roles Management menu allows you to define roles and permissions for an individual user. All roles can be edited, and new ones can be added. This video demonstrates this simple process step by step:
View Account Settings:
- Go to the main menu
- Select ‘Account Settings‘

Steps to Add Roles:
- Select ‘Roles Management‘ in the submenu
- Select the ‘Add Role‘ button on the upper right corner
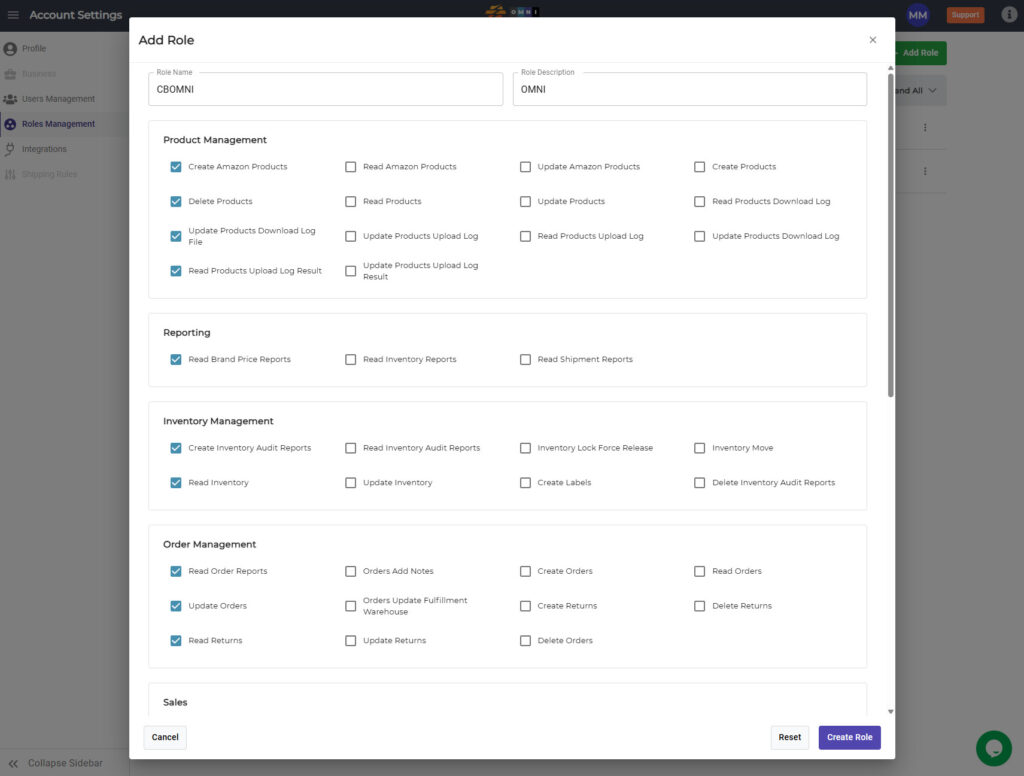
Steps to Edit Roles:
- In the ‘Add Role‘ pop-up menu, you can assign various permissions to the Roles that you create.
- When you’re finished, save the Role by selecting the ‘Create Role‘ button:
- All defined Roles and their descriptions are displayed on the Roles Management page. From here, you can assign roles to individual user accounts.
