Account Settings is where you manage core account configuration for your CommerceBlitz OMNI workspace. From here, you can control user access and roles, manage business and profile information, and configure integrations with external services. These settings help ensure the right people have the right level of access and that your account is properly connected and configured for daily operations.
CommerceBlitz OMNI Profile Settings
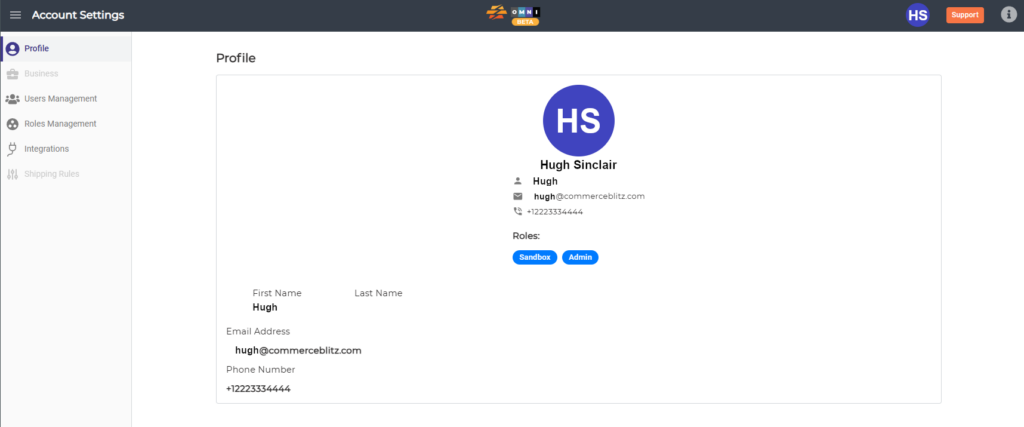
In the Profile section of your account, you can verify your contact info and Roles in the account. Changes for Roles and details can be edited from the Users Management section.
CommerceBlitz OMNI Users Management
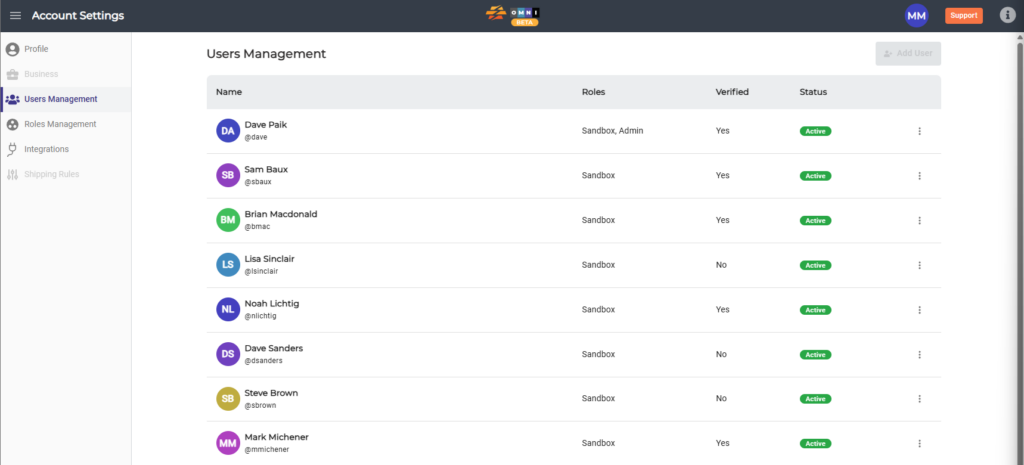
In the Users Management section of your account, you manage your team members access settings for OMNI. You can add, edit or delete users.
CommerceBlitz OMNI Roles Management
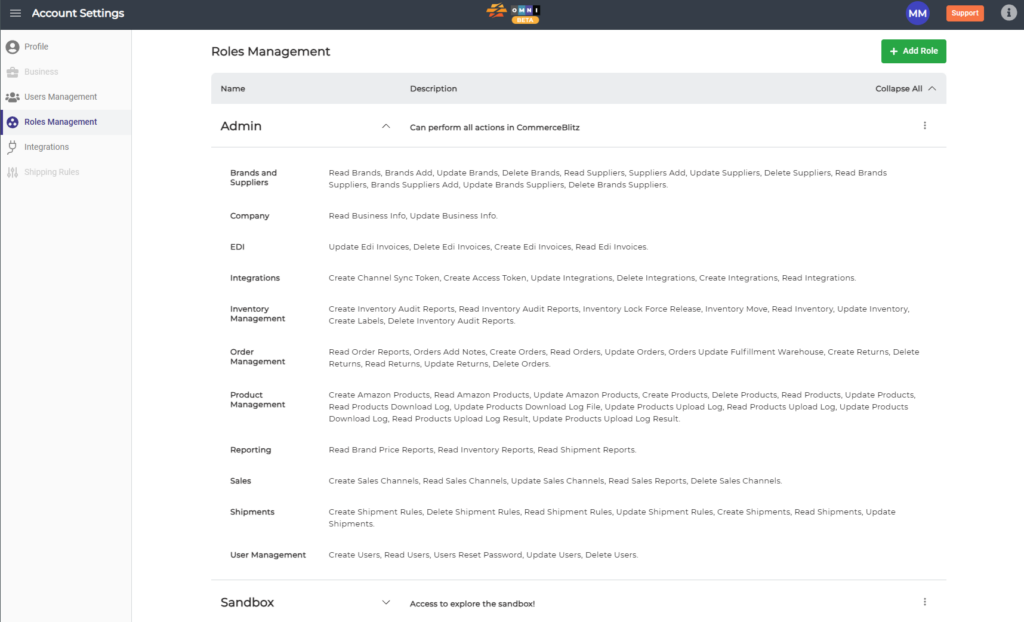
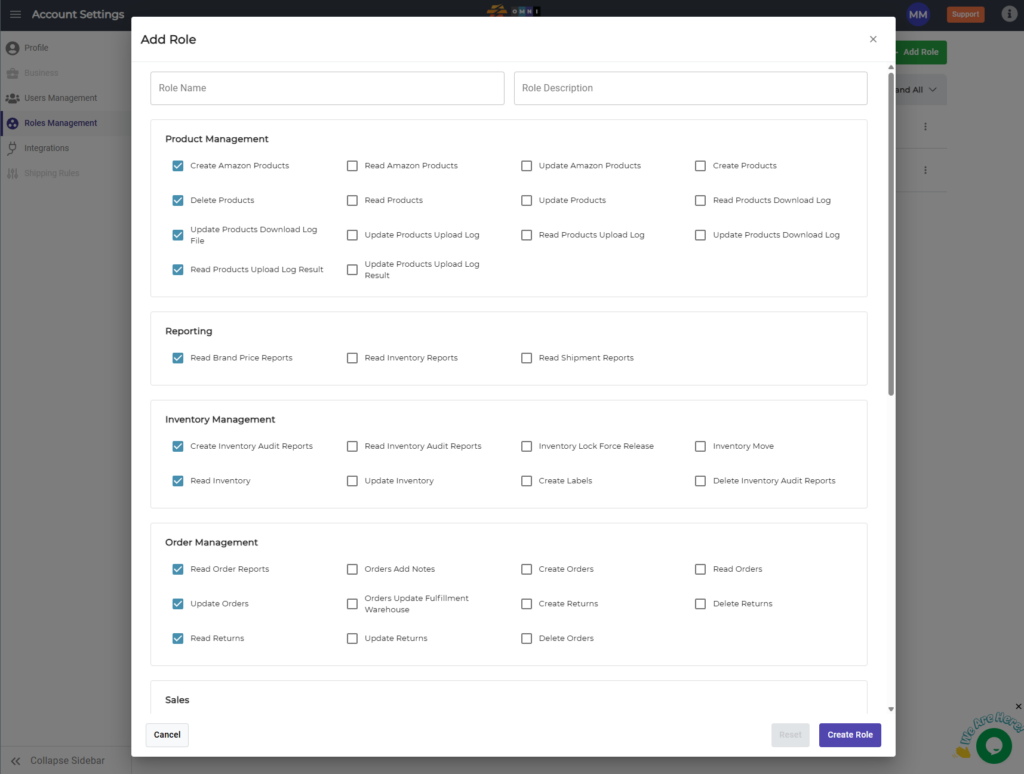
In the Roles Management section of your account, you can assign specific roles to each user on your team. Roles available and permissions are as follows:
CommerceBlitz OMNI Role Permissions Directory:
Product Management:
Create Amazon Products: Allows the user to list new items directly to connected Amazon accounts.
Read Amazon Products: Grants visibility to view existing Amazon listings and their synchronization status.
Update Amazon Products: Permits editing of titles, descriptions, and details for products currently on Amazon.
Create Products: Allows the creation of new SKUs within the master CommerceBlitz catalog.
Delete Products: Grants the authority to permanently remove SKUs within the master CommerceBlitz catalog.
Read Products: Allows the user to view the master product list and individual item details.
Update Products: Permits editing of master product information (e.g., dimensions, weights, descriptions).
Read Products Download Log: Access to view the history of product data exports.
Update Products Upload Log: Allows management of the records tracking bulk product imports.
Update Products Download Log: Permits administrative updates to the history of data exports.
Read Products Upload Log Result: View the success/failure details of a specific bulk upload attempt.
Update Products Upload Log Result: Ability to clear or modify the status of upload results.
Reporting:
Read Brand Price Reports: Access to view analytical data regarding pricing trends and brand performance.
Read Inventory Reports: Grants the ability to view and export reports on current stock levels and valuation.
Read Shipment Reports: Access to data regarding historical shipping volumes, costs, and carrier performance.
Order Management:
Read Order Reports: Access to high-level summaries and detailed data on sales orders.
Orders Add Notes: Allows users to leave internal comments or instructions on specific order files.
Create Orders: Permits editing of titles, descriptions, and details for products currently on Amazon.
Create Products: Permits the manual entry of new orders into the system.
Read Orders: Grants visibility to view the order queue and individual order details.
Update Orders: Allows editing of order details, such as shipping addresses or line items.
Orders Update Fulfillment Warehouse: Grants the ability to change which warehouse location is assigned to ship an order.
Create Returns: Allows the initiation of a Return Merchandise Authorization (RMA) or return record.
Delete Returns: Permits the removal of a return record from the system.
Update Returns: Allows users to change the status of a return (e.g., from “Pending” to “Received”).
Delete Orders: Permits the permanent removal of an order record (usually restricted to admins).
Sales:
Create Sales Channels: Allows the connection of new marketplaces (e.g., eBay, Shopify) to the system.
Read Sales Channels:Permits viewing of connected store settings and integration statuses.
Update Sales Channels: Allows editing of credentials or synchronization settings for existing channels.
Read Sales Reports: Access to revenue, tax, and sales performance data.
Delete Sales Channels: Permits the disconnection and removal of a sales marketplace from the system.
Shipments:
Create Shipment Rules: Allows the setup of automation logic (e.g., “If weight < 1lb, use USPS”).
Delete Shipment Rules: Permits the removal of shipping automation logic.
Read Shipment Rules: Grants visibility to see the current rules governing carrier selection.
Update Shipment Rules: Allows for the modification of existing shipping logic and priorities.
Create Shipments: Permits the generation of shipping labels and outbound manifests.
Read Shipments: Allows users to view tracking numbers and shipment history.
Update Shipments: Permits editing of shipment details before they are finalized.
Brands and Suppliers:
Read Brands / Brands Add / Update Brands / Delete Brands: Full control over the list of brands the company represents or sells.
Read Suppliers / Suppliers Add / Update Suppliers / Delete Suppliers: Full control over the vendor database and contact information.
Read Brands Suppliers / Add / Update Brands Suppliers / Delete: Manages the relationship between brands and suppliers who provide them.
Integrations & Company:
Read Integrations: Visibility into third-party app connections and API statuses.
Read Business Info: View the company’s profile, including address and contact details.
EDI (Electronic Data Interchange):
Update / Delete / Create / Read Edi Invoices: Control over the electronic invoicing process used for big-box retailers and large-scale distribution partners.
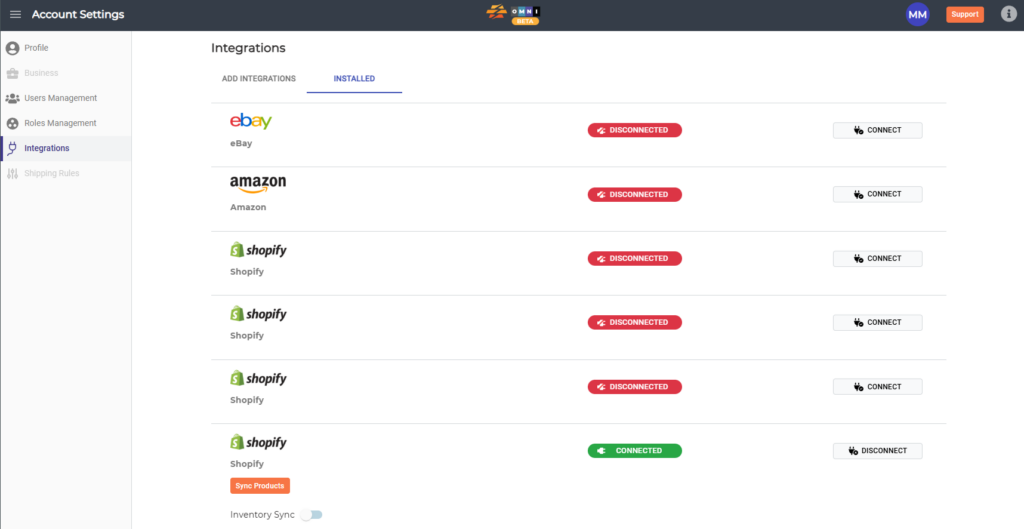
Integrations:
Easily connect to your services to start managing your stores with OMNI. Connection guidelines for each channel are provided in our tutorials.