
Open the OMNI Menu (three horizontal lines stacked on each other) and click on Order Management.
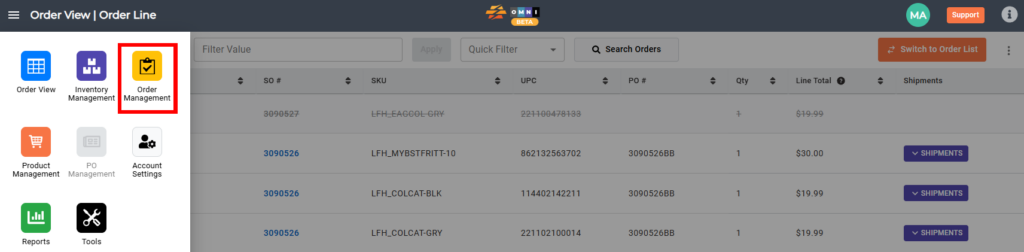
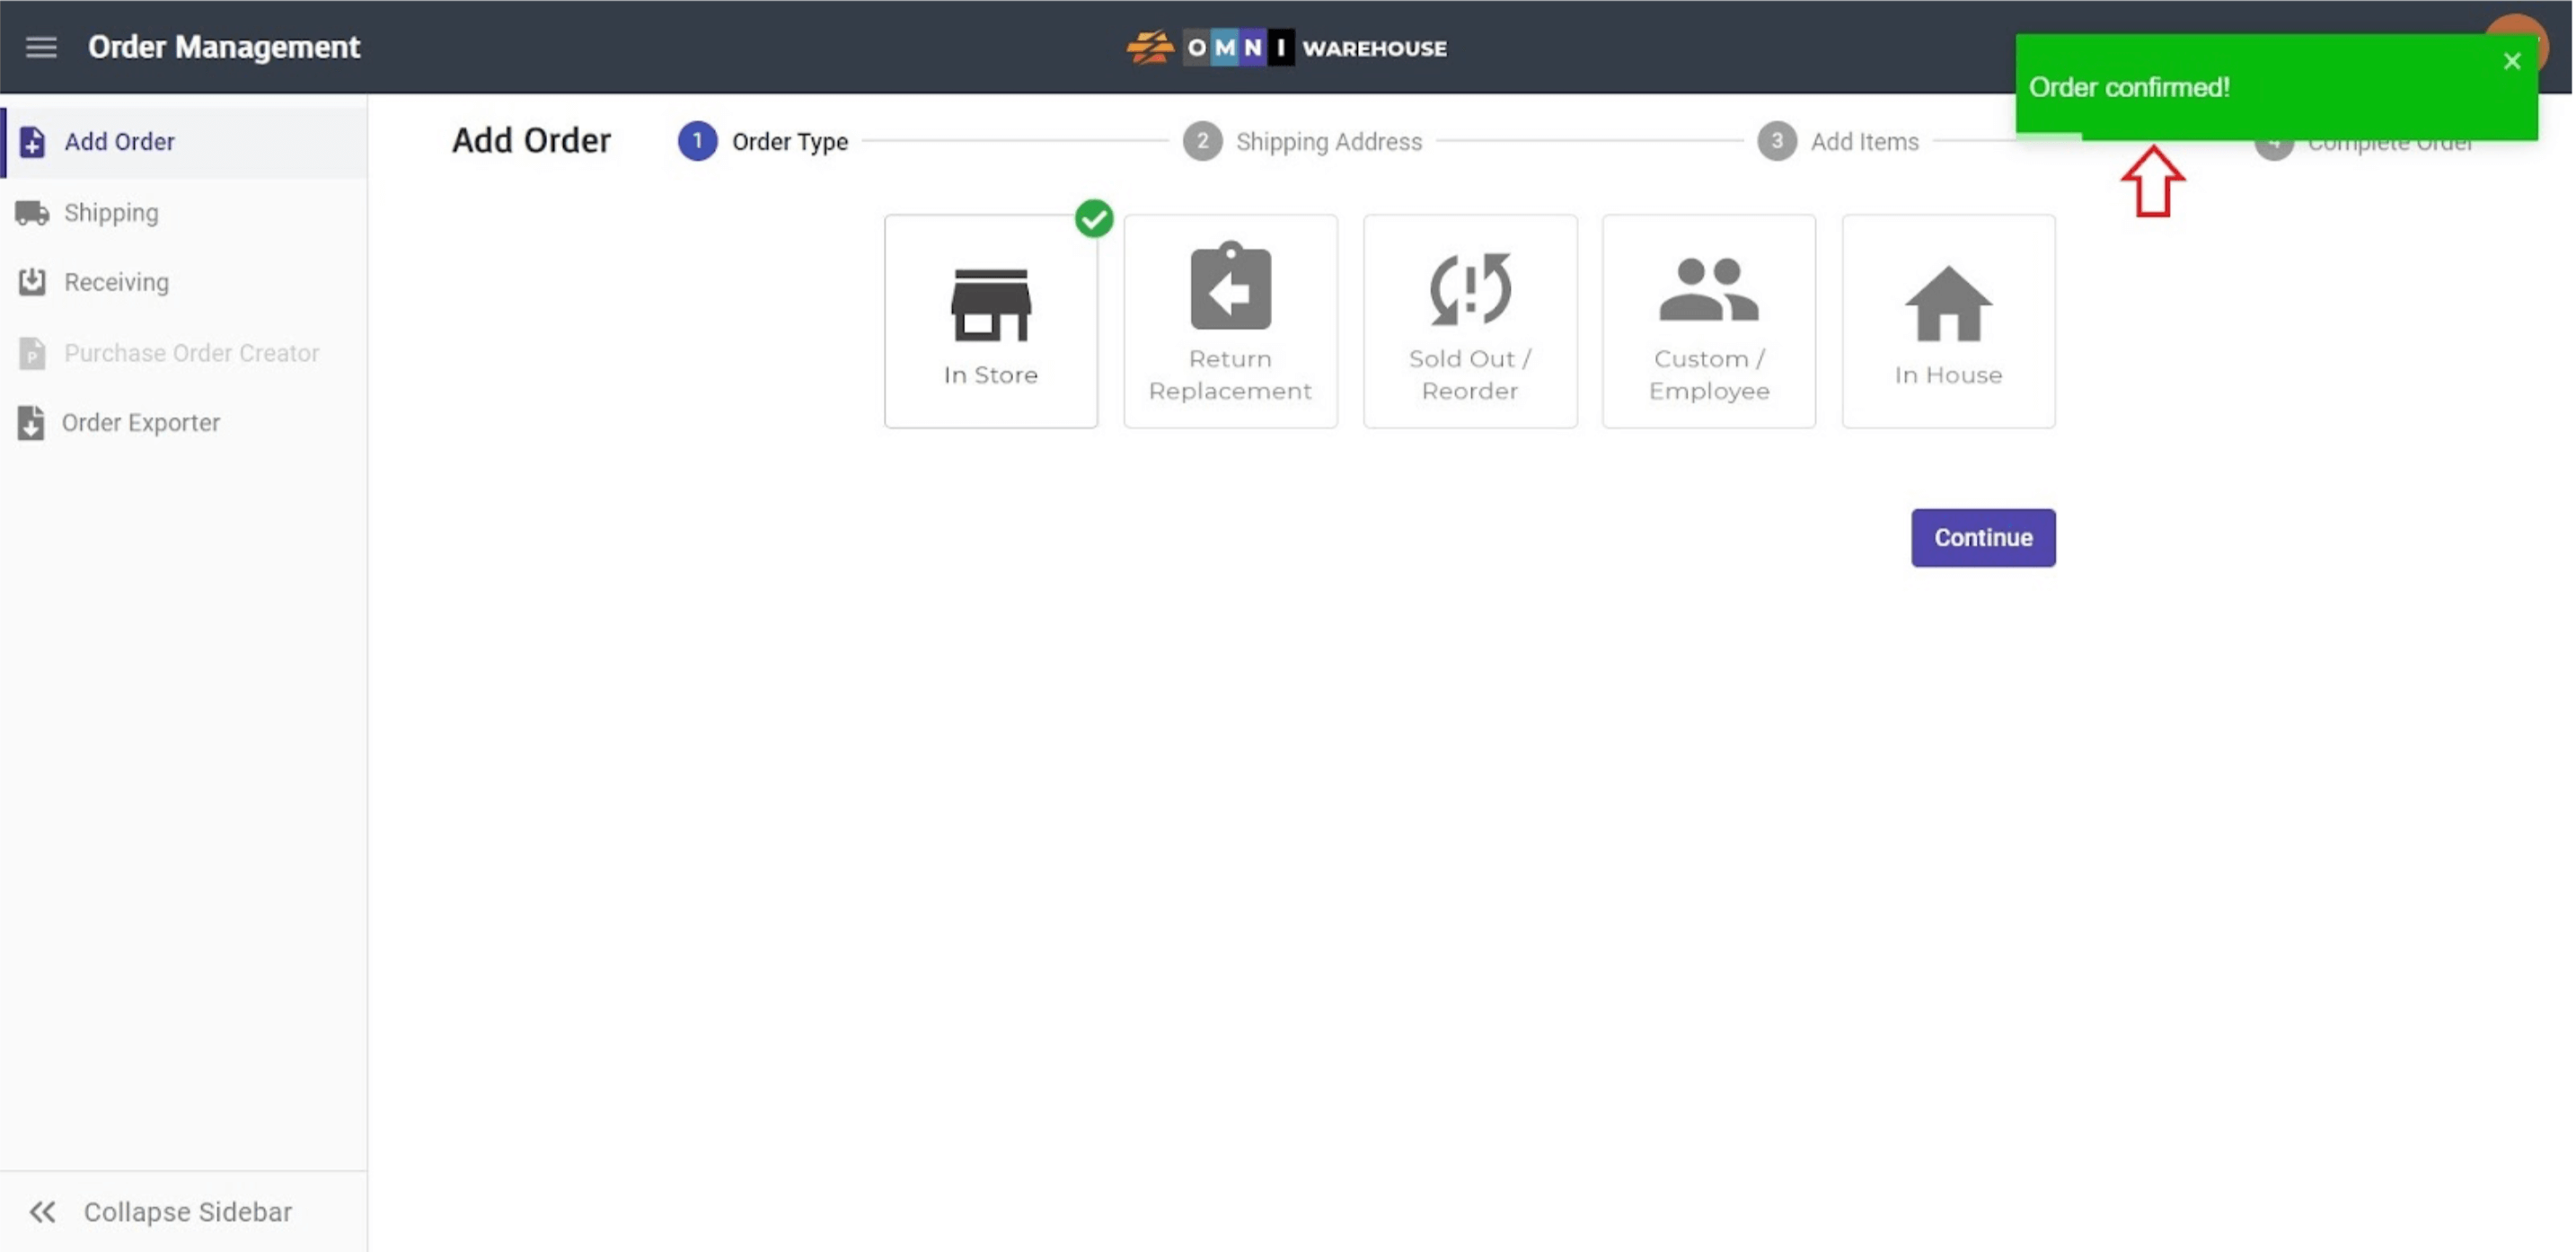
This will open up the Order Management module, which defaults to the Add Order page. The sidebar menu for this module contains “Add Order, Shipping, Receiving, Purchase Order Creator, and Order Exporter.” As with the other modules, the sidebar can be collapsed for a larger viewing area.
A) Add Order
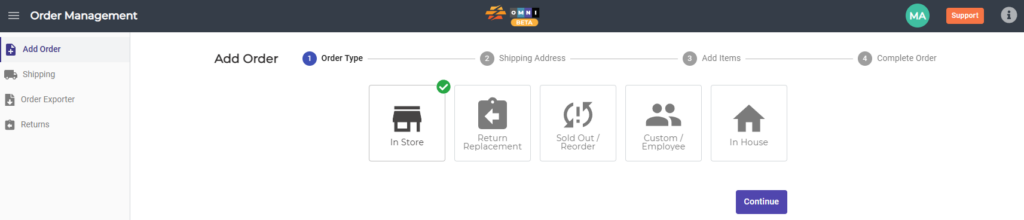
- The Add Order page is used to manually create (or add) orders in OMNI. Select the correct Order Type and click the Continue button.
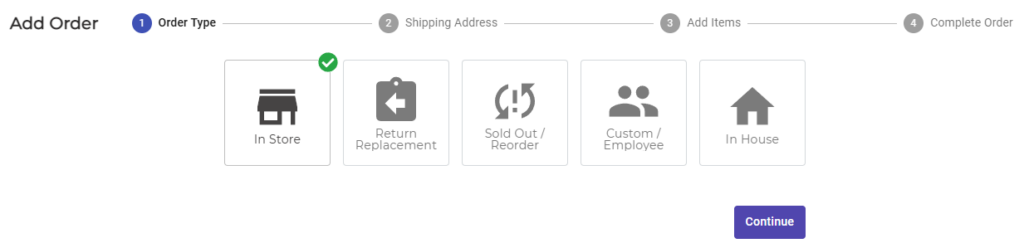
- In Store for store purchases.
- Soldout/Reorder for orders with temporarily unavailable or back ordered products.
- Custom/Employee for employee or other customized orders.
- In House for company-wide departmental orders.
- Return Replacement for replacement orders.
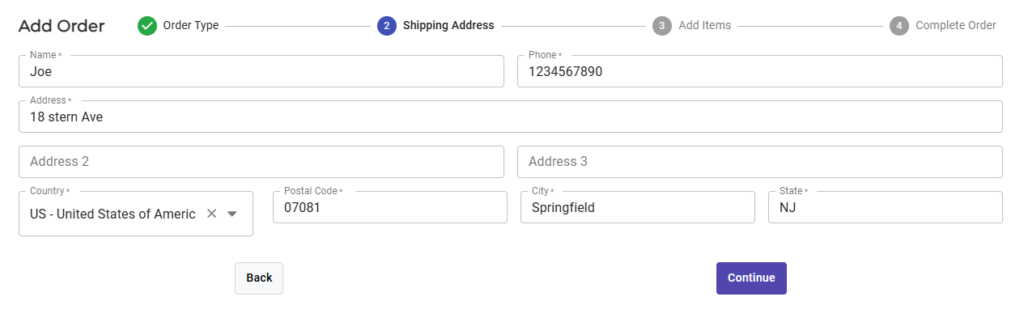
- On the Shipping Address screen, fill out all required fields (Name, Phone, Address, Country, Postal Code, City. and State) and then click the Continue button.
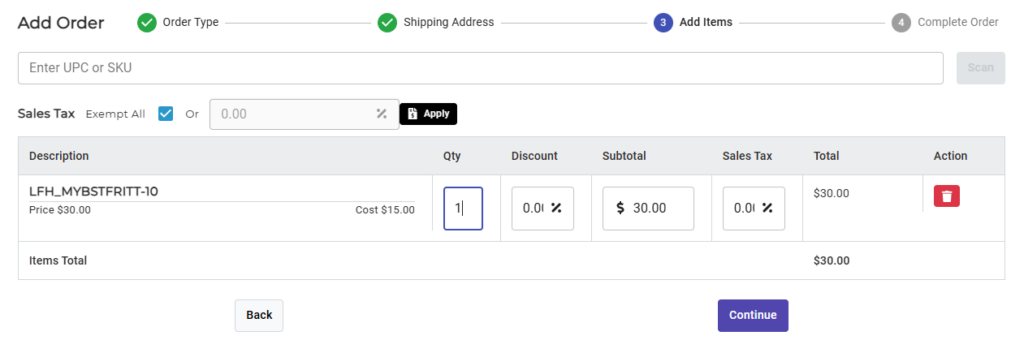
- Add Items to the order by scanning a UPC or entering SKU into the “Enter UPC or SKU” field.

- The item added will appear on the screen with a default Qty of “1”. Adjust the Qty, Discount, Subtotal, and Sales Tax fields as needed. If the incorrect item was selected, click the red Trash Can on the far right of the item’s line to remove the item.
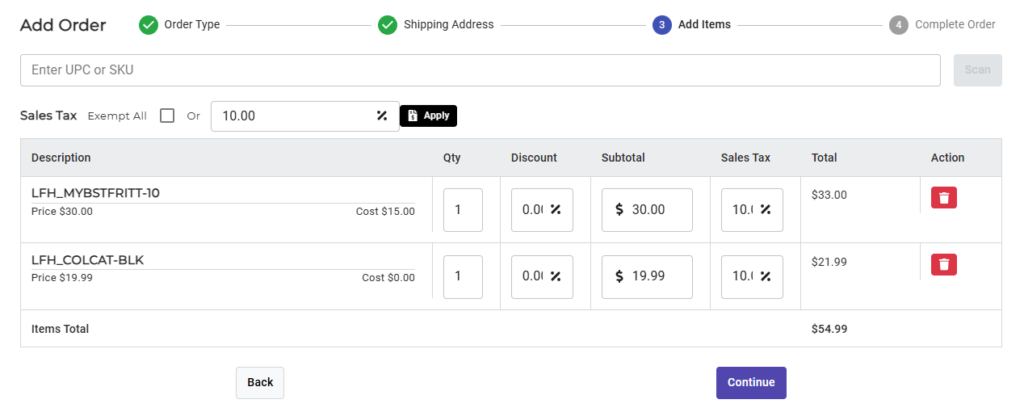
- To add additional items, scan another item into the “Enter UPC or SKU” field. Note that the Sales Tax can also be applied globally to all items on the order by entering the tax percentage into the Order Sales Tax field and clicking the Apply button.

- In the example below 5% Sales Tax has been applied to all items on the order using the Order Sales Tax field. After all items have been added and any Sales Tax or Discounts have been applied, click the Continue button.
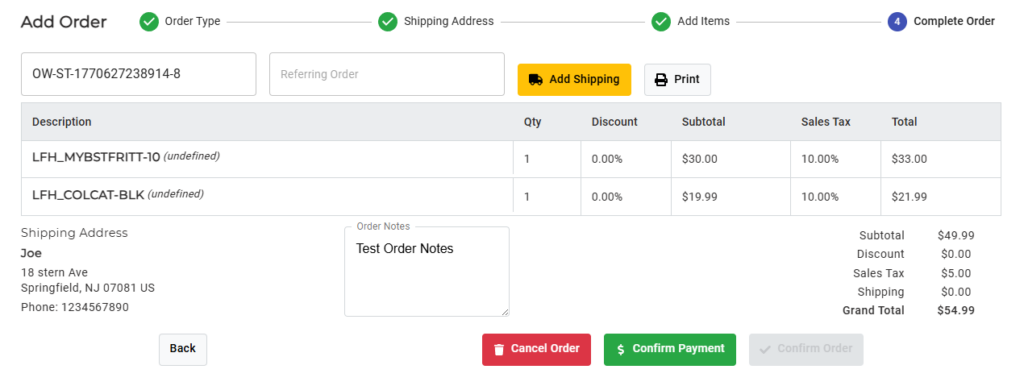
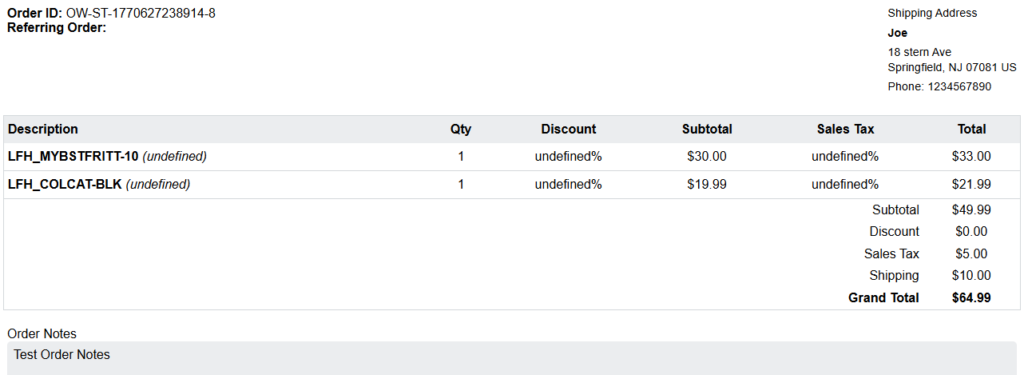
- The Complete Order screen shows all the information entered along with an auto-generated Order ID. A referring order can also be entered into the Referring Order field and any notes can be added into the Order Notes field. Click the Add Shipping button to add a shipping cost to the order.
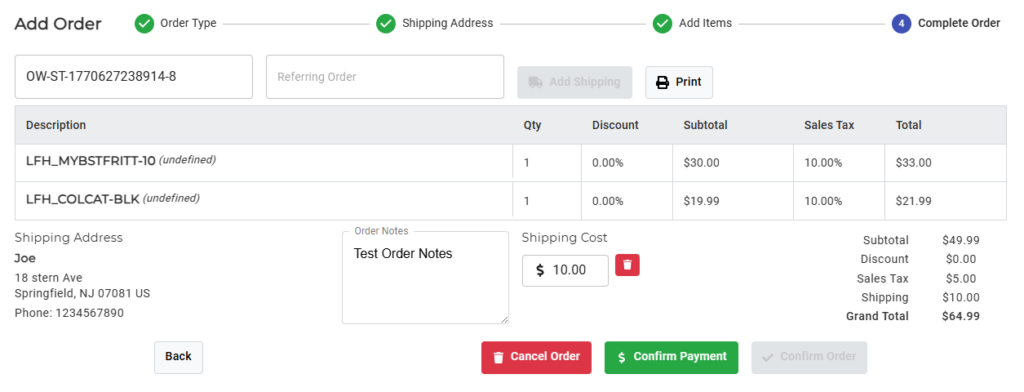
- In the example below a $10 Shipping Cost has been added along with an Order Note. To remove the Shipping Cost click the red Trash Can button. To cancel the entire order click the red Cancel Order.
- To print an invoice for the order click the Print button. An invoice will pop-up like below. This invoice can then be printed via the browser.
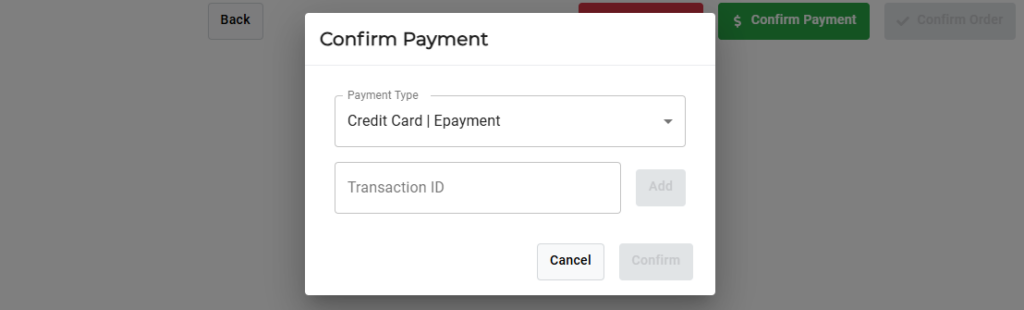
- If all of the information entered has been verified as correct, click the Confirm Payment button. This will bring up the Confirm Payment dialog box. Select the payment method from the dropdown and click the Confirm button. If payment is via Credit Card or E Payment, enter the Transaction ID in the designated field and then click the Confirm button.
- The payment confirmation will be added to the Order Notes field. If all of the information entered is correct, click the Confirm Order button. To cancel and discard the order, click the Cancel Order button.

- A confirmation message will pop up on the upper right corner of the screen indicating “Order confirmed!”
- The order will now be visible on the Order Line View page.
B) Shipping
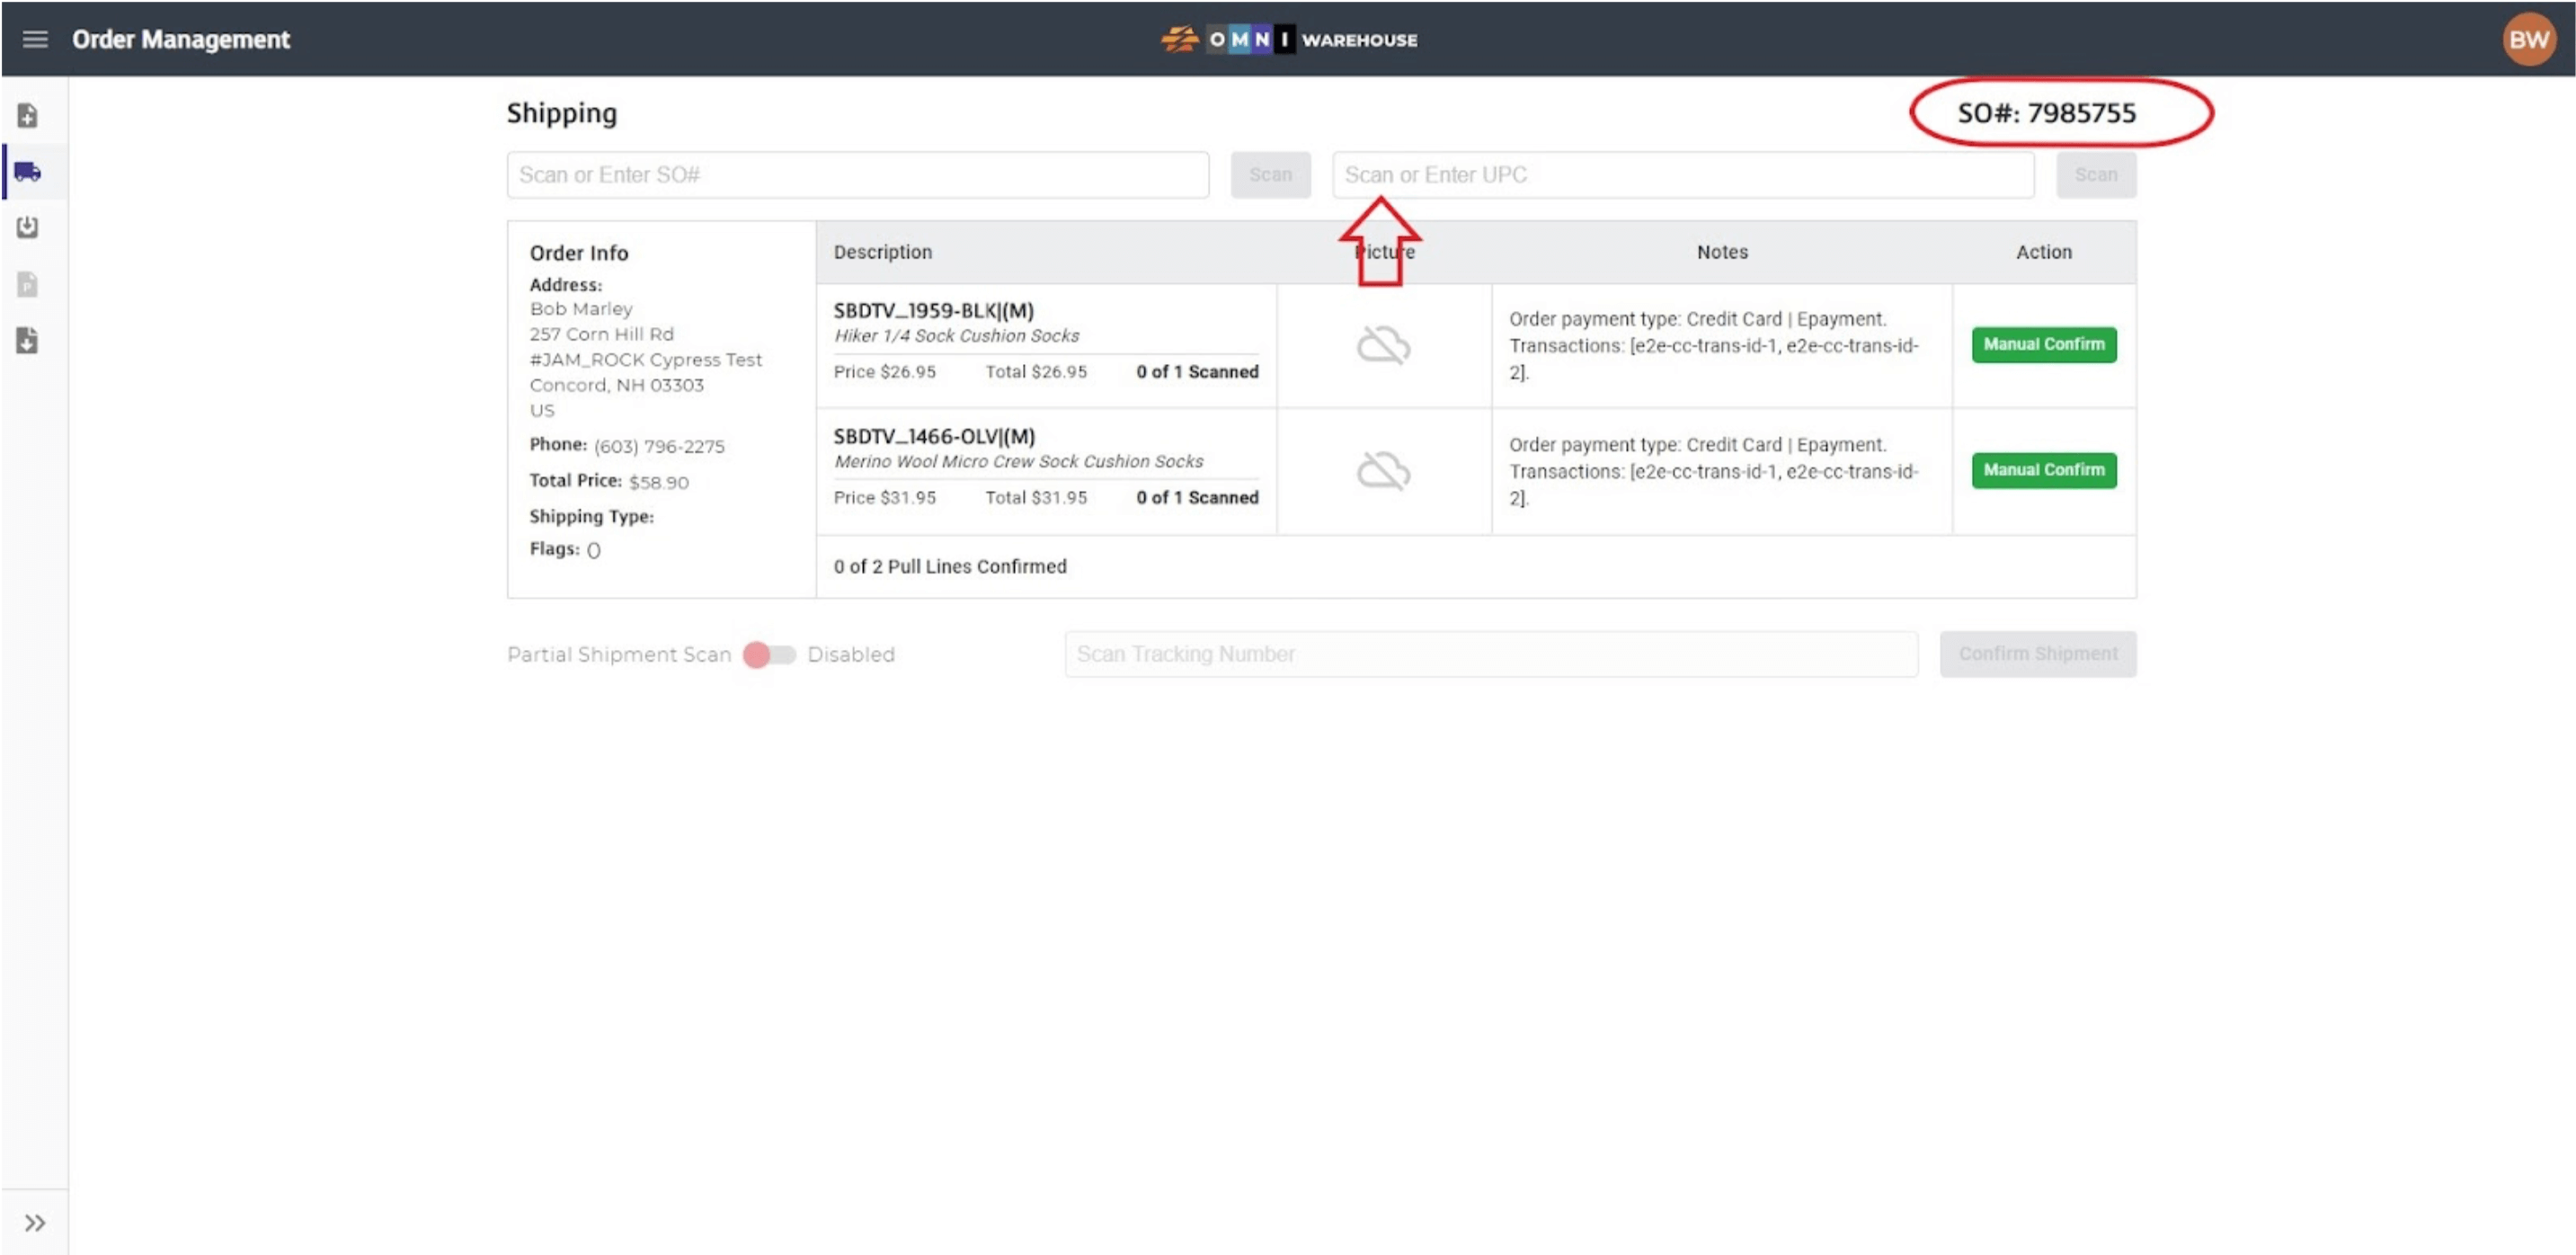
- Select the Shipping page from the Order Management Sidebar Menu. Scan the SO# into the Scan or Enter SO# field.

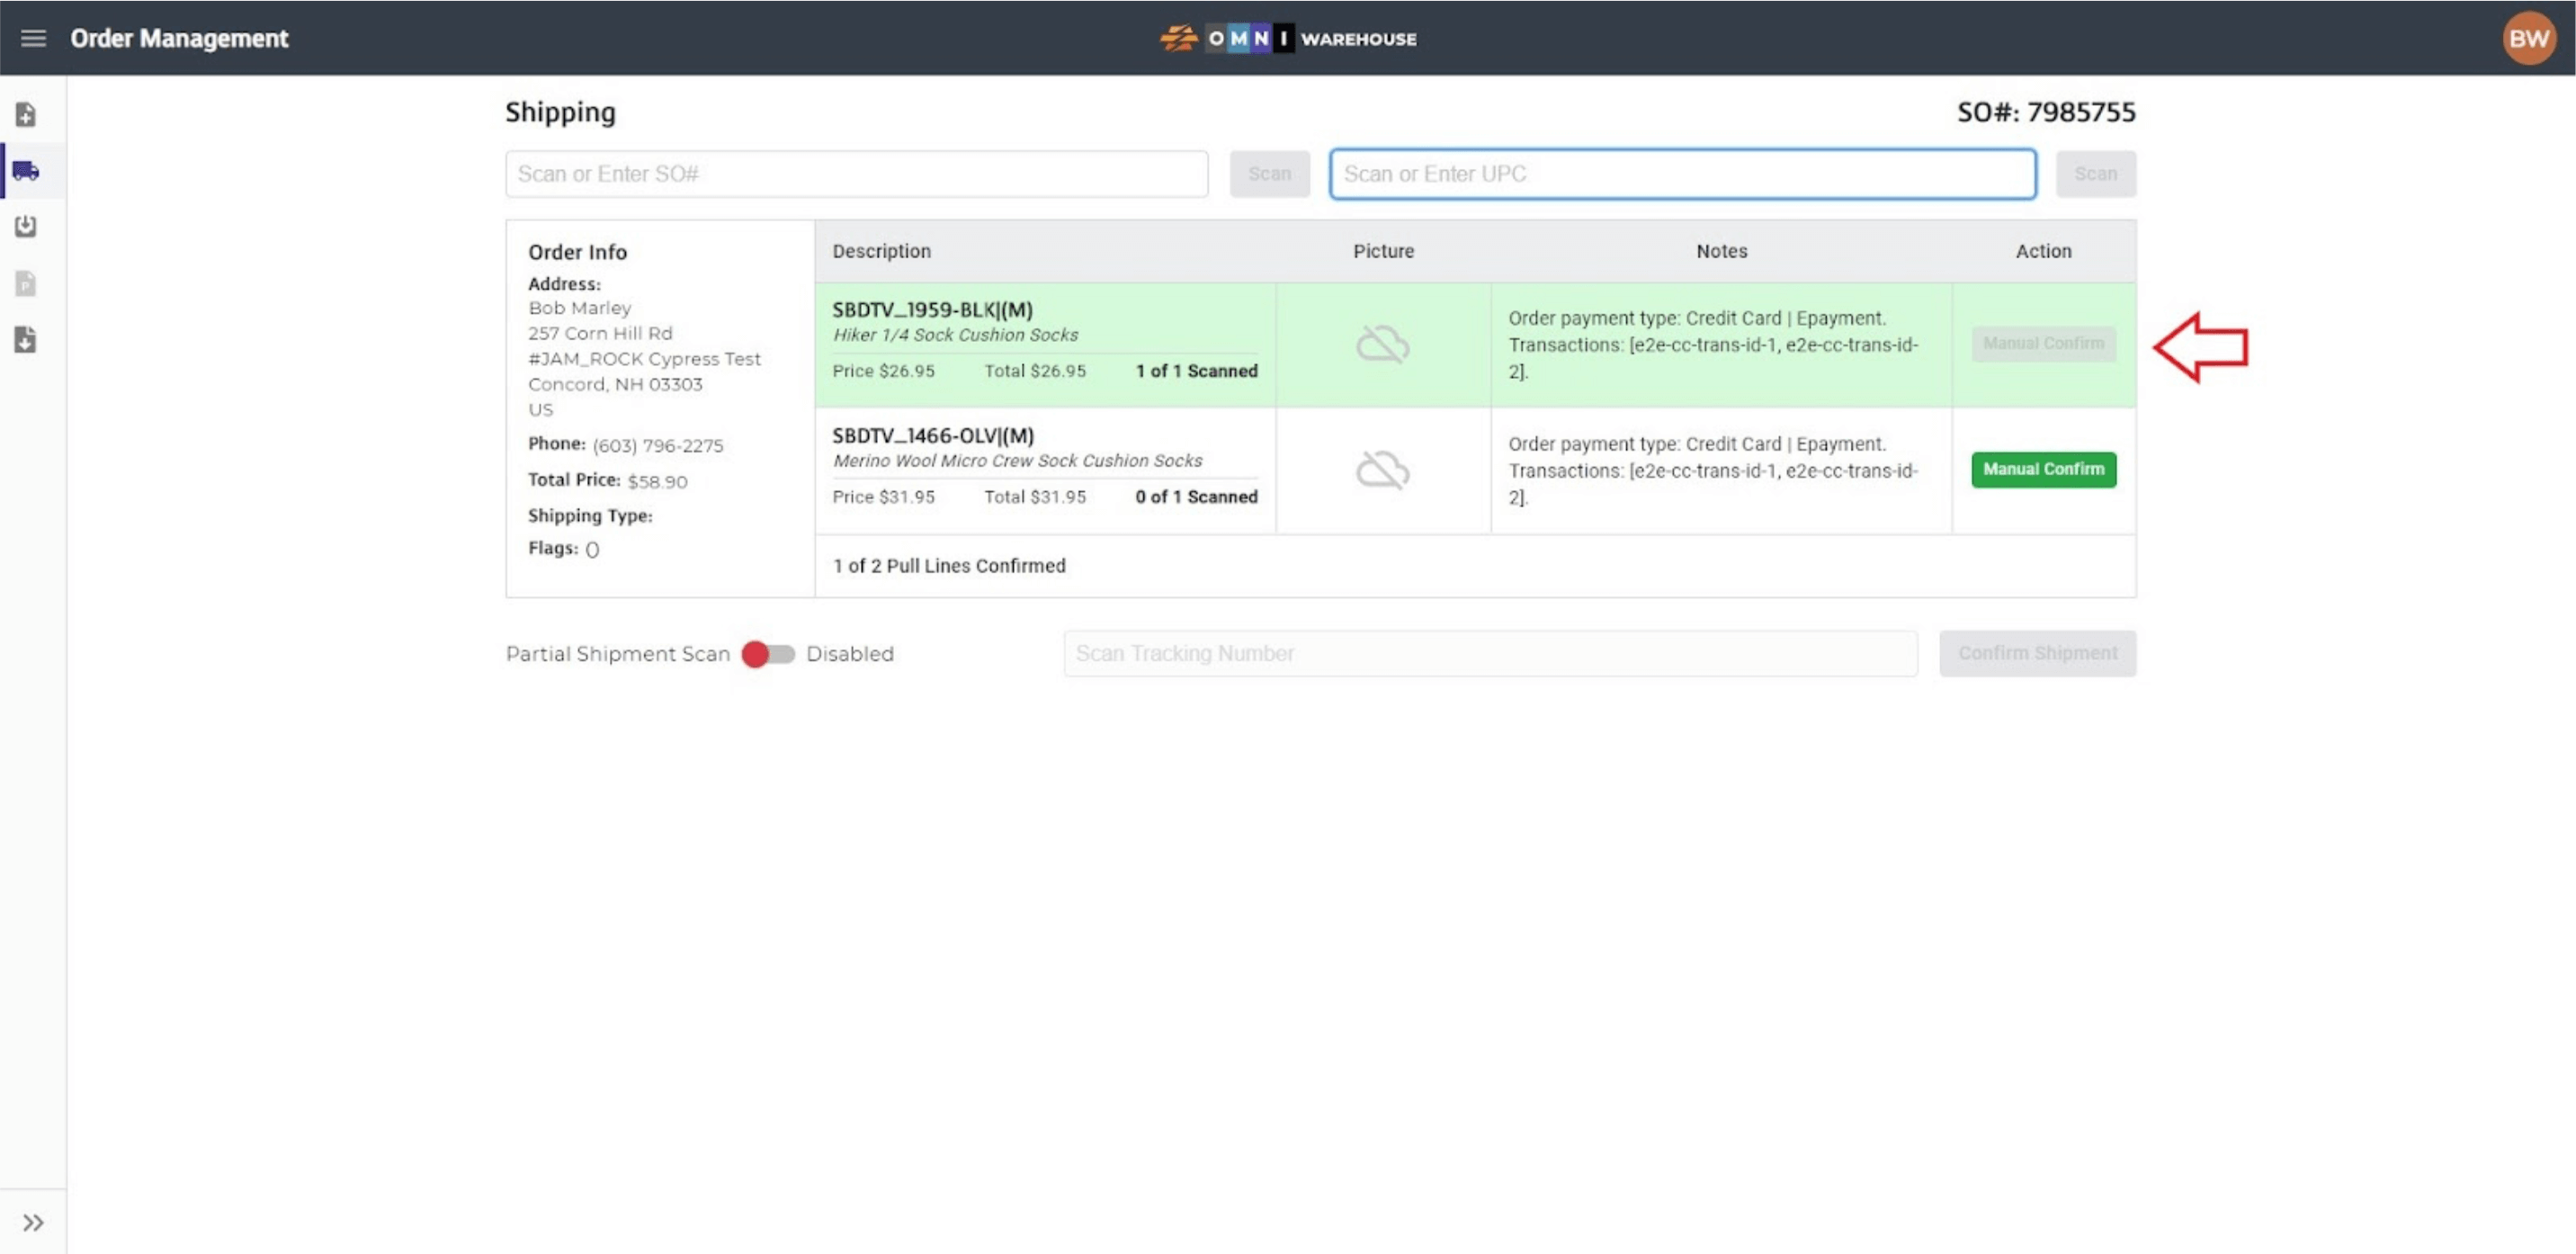
- The order will show on the screen with all of the items that need to be scanned to complete order fulfillment, with the SO# displayed at the top right-hand side of the screen. Scan the UPC of the first item into the Scan or Enter UPC field.
- After scanning all quantities for a UPC, the item will turn green to indicate that the item has been added to the shipment. Scan each item in the shipment until every SKU on the screen turns green.
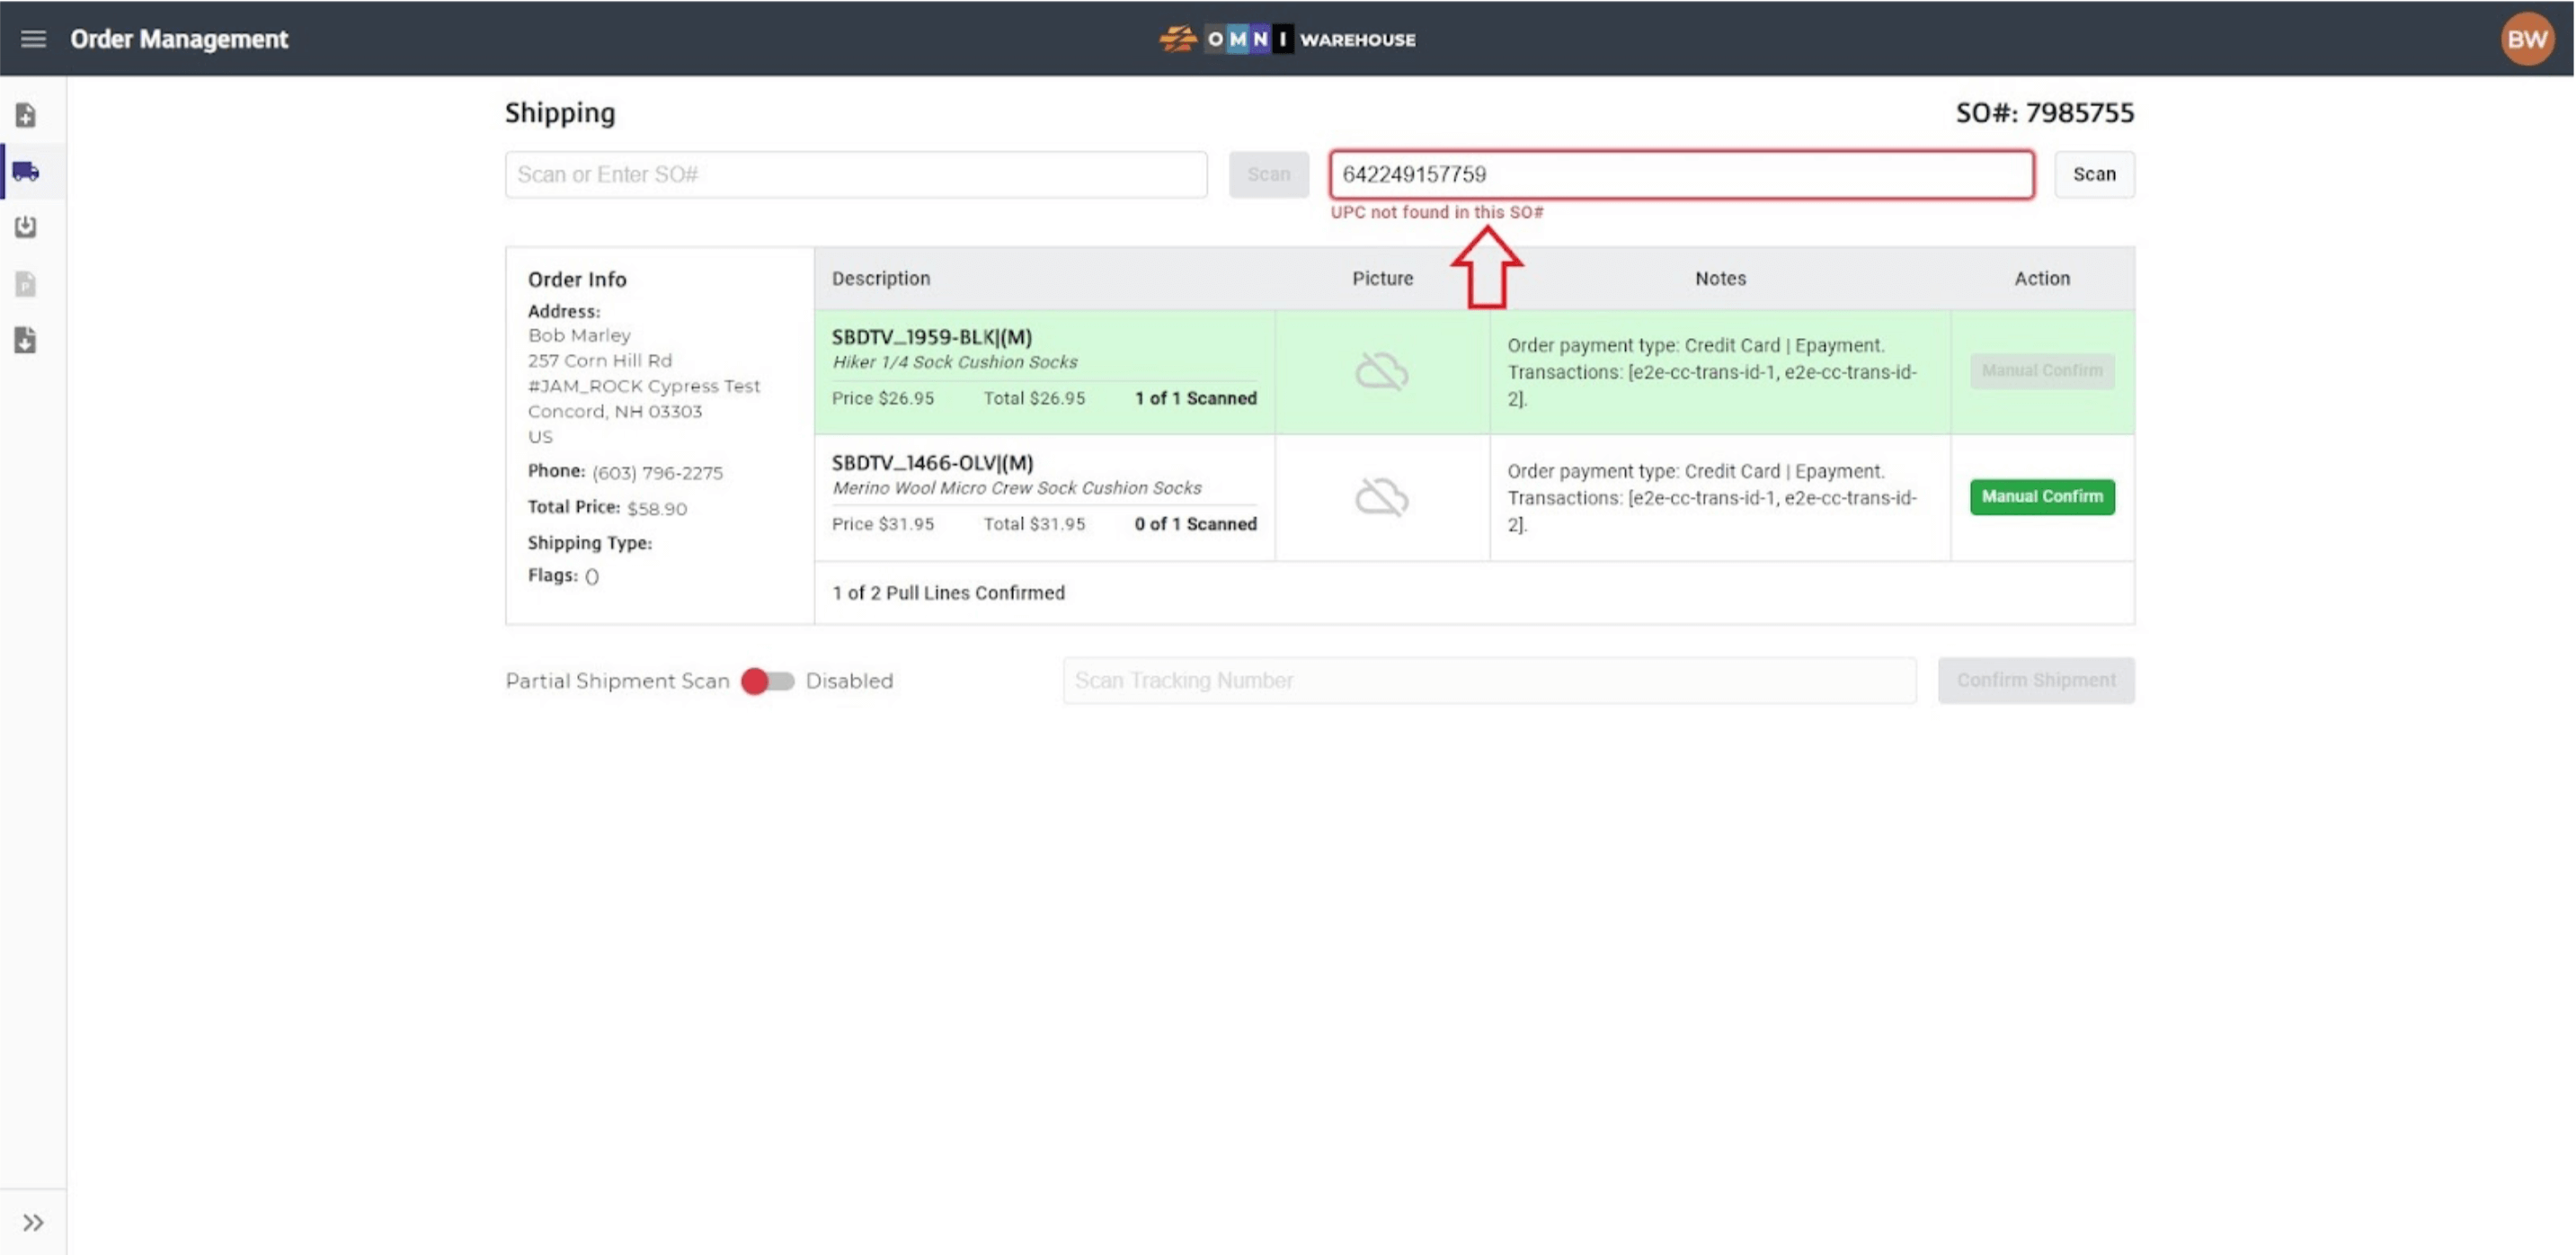
- If an incorrect item is scanned, a dialog box will appear on the screen indicating that the UPC is not found on the SO# or that the item has already been scanned.
- After all items have been scanned use your preferred carrier to create a shipping label with a valid tracking number. Scan the tracking number into the Scan Tracking Number field.

NOTE: If no tracking number is entered into this field, the order will remain unfulfilled in OMNI. To complete the shipping process a value MUST be entered into this field.
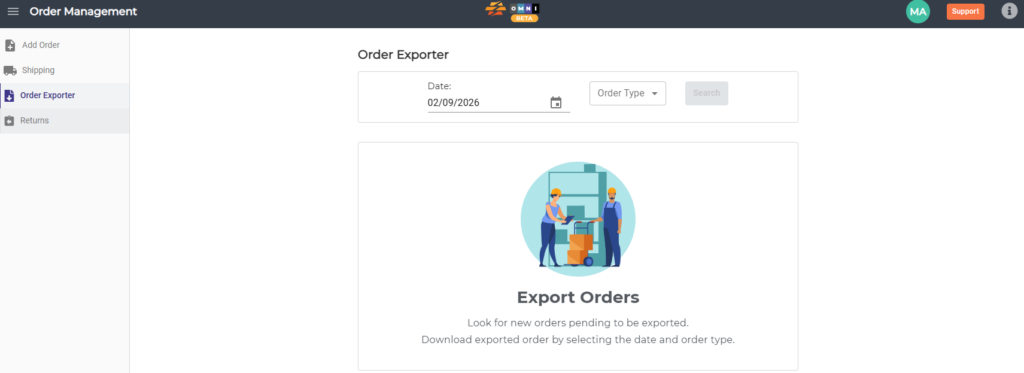
C) Order Exporter
- Select the Order Exporter page from the Order Management Sidebar Menu.
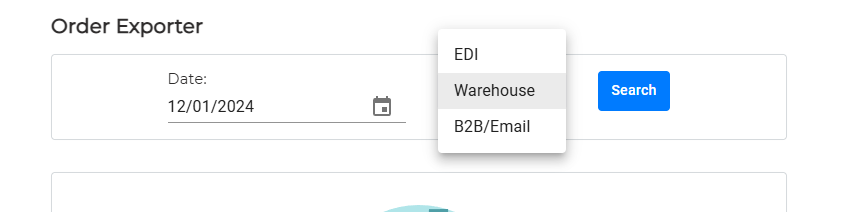
- On the Order Exporter page, select the appropriate option from the Order Type drop-down menu. Available selections are EDI, Warehouse, or B2B/Email. For standard warehouse orders, select Warehouse.
- Click the search button located on the top right corner of the Order Exporter page.
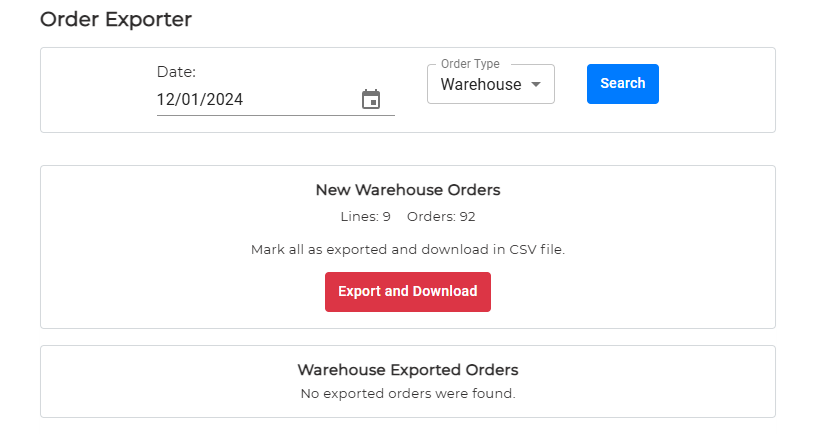
- Click the Export and Download button. The CSV file will be downloaded.

D) Returns
Select the Returns page from the Order Management Sidebar Menu.
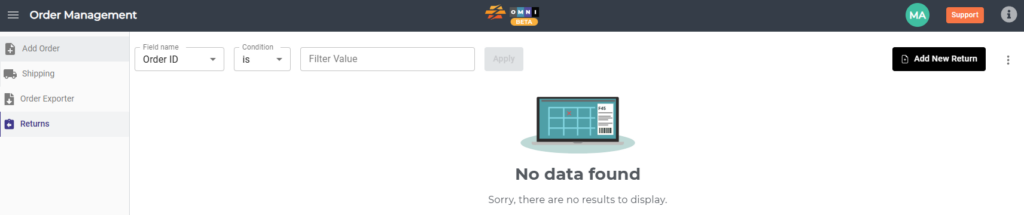
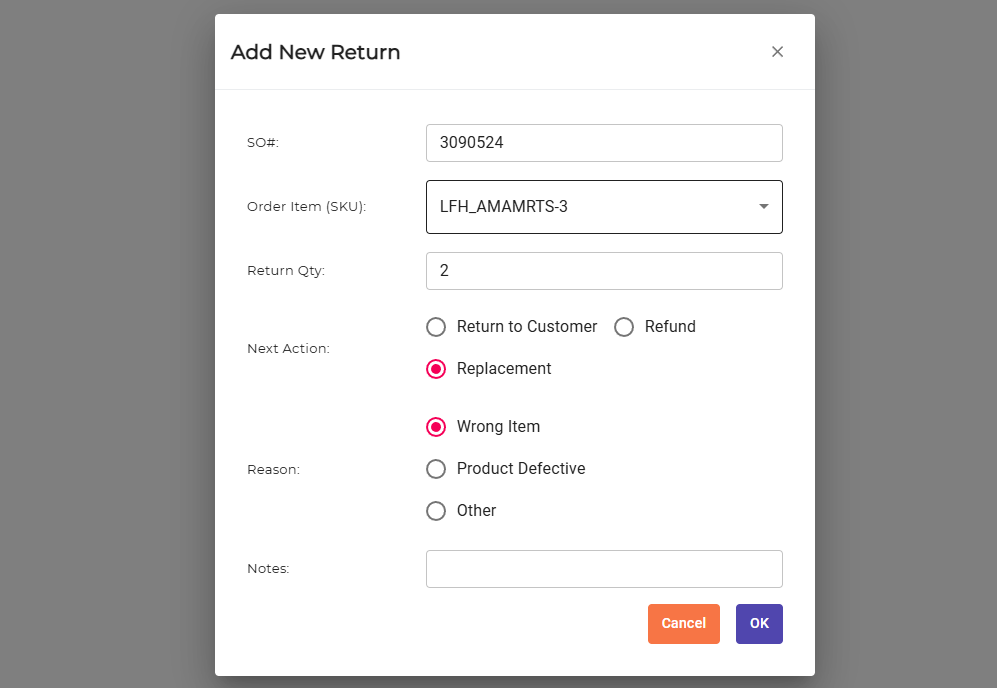
- Click on the Add New Return command button.
- Enter SO# for return.
- Select SKU.
- Enter returns products QTY.
- Select Next Action: Return to Customer, Refund, Replacement and Reason: Wrong Item, Product Defective or Other. Add Notes if needed.
- Confirm with OK button.
- New return successfully added note will show and return will show in the Returns page.
