This section will guide you through the process of renaming an existing zone.
A) Main menu
- Go to the main menu
- Select “Inventory Management”

B) Inventory view work
- Select the “Inventory View” submenu
- Click in the “Scan zone name” box
- Type zone name as a numeric-alphanumberic combination. example: “1A1” or “11AA22”
- Click the “Scan” button

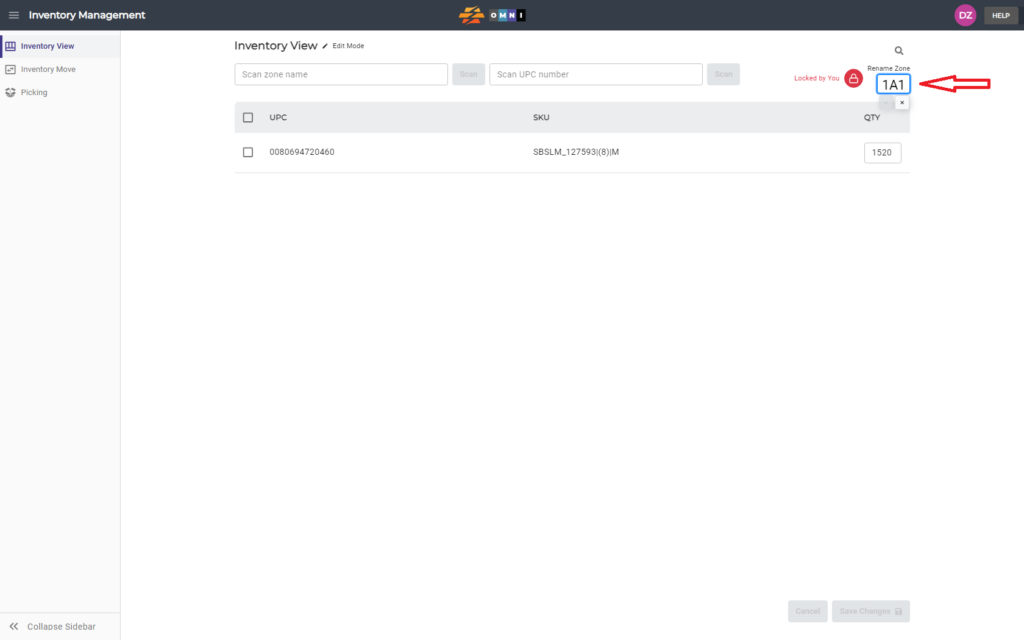
C) Change zone name
- Lock the zone by clicking on the open padlock button
- Click the mouse directly on the zone name
- After changing the zone name, confirm the new name by clicking on the check mark immediately below the zone name