The simple process of moving products to a shipping zone is demonstrated in this video.
For any ambiguities or additional questions, please, contact us directly.
A) Main menu
- Go to the main menu.
B) Open “Inventory Management”
- Select “Inventory Management”

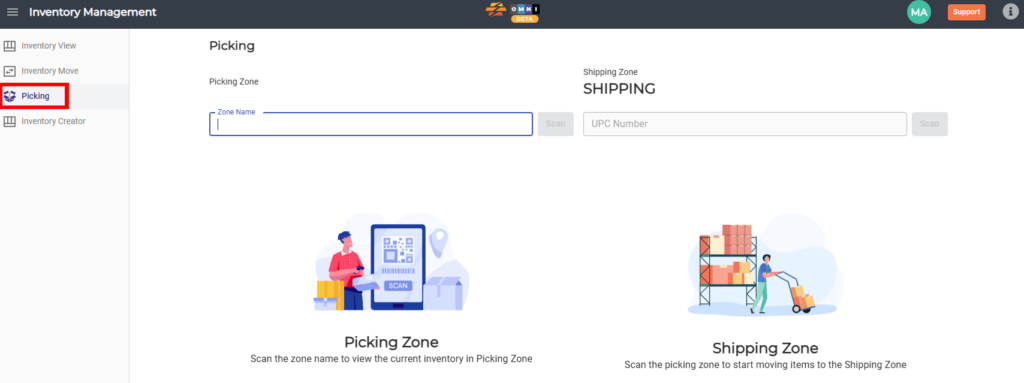
C) Open picking zone
- Select “Picking” from the submenu
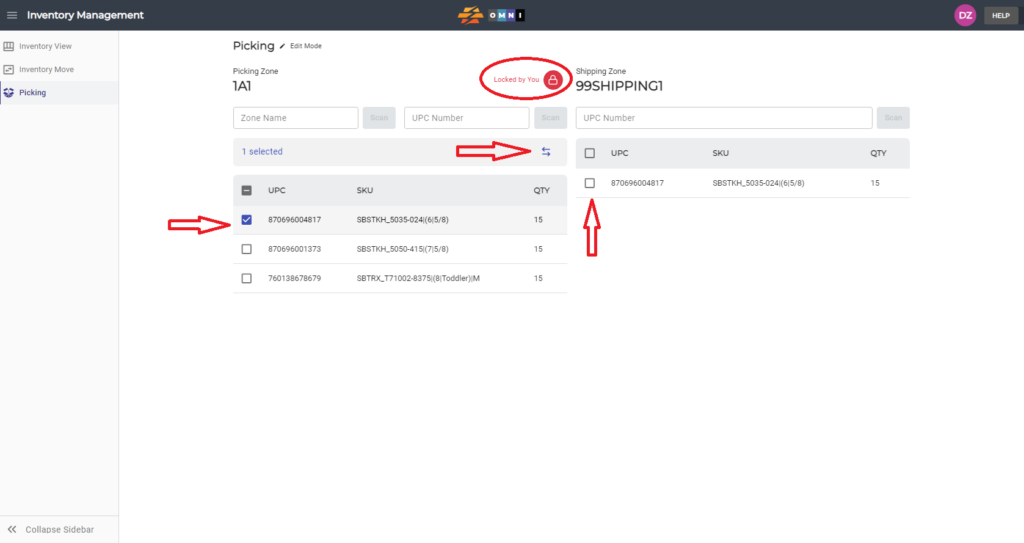
D) Work in Picking tab
- Enter the zone where the product that you want to pick is located
- Confirm the zone by pressing the “Scan” command button or “Enter” key (using a scanner will do this for you)
- Lock the zone by pressing the green padlock button
- Select the products you want to move into the shipping zone by checking the box next to the product you want to move
- Click the double arrow button to move products
- Unlock the zone by clicking the padlock button
- Continue with the shipping process