
When creating zones in the warehouse, the next step is to place the products and their quantities in those storage zones.
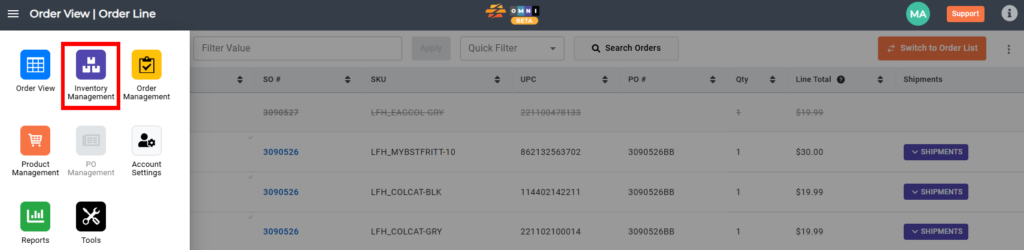
A) Main menu
- Go to the main menu
- Select “Inventory Management”
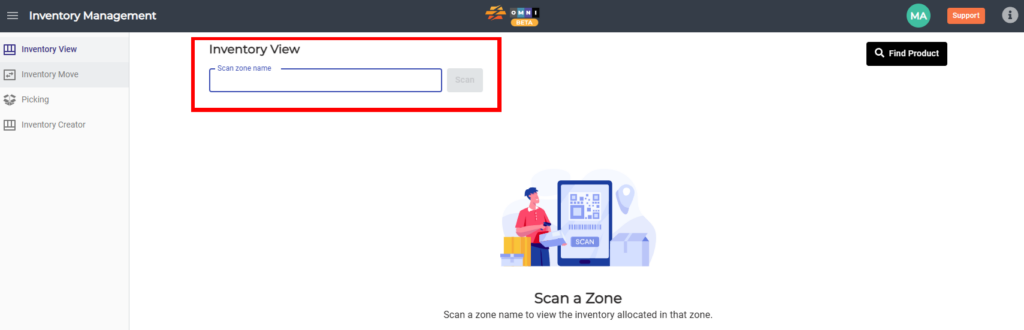
B) Inventory preparing work
- Select the “Inventory View” submenu
- Enter the “Scan zone name” field
- Type zone name in combination numbers-letters-numbers example: “1A1” or “11AA22”
- Click the “Scan” button
C) Change QTY
- Lock the zone by clicking on the open padlock button
- Enter the quantity field and adjust as needed
- After adjusting, save your changes by pressing the “Save Changes” button at the bottom right corner of the screen