
This video and step-by-step manual demonstrate the simple process of column customization in the OMNI apps.
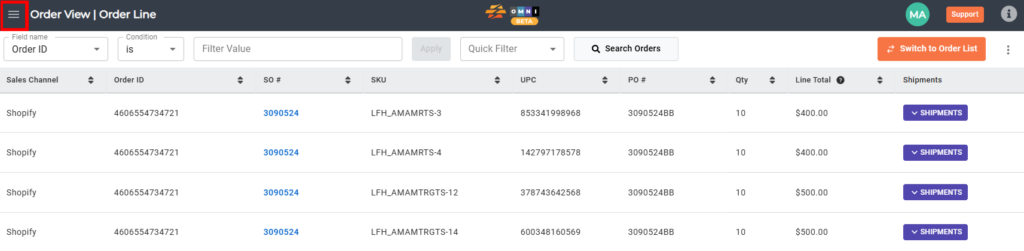
A) Main menu
- Go to the main menu.
B) Order view
- Select “Order View”
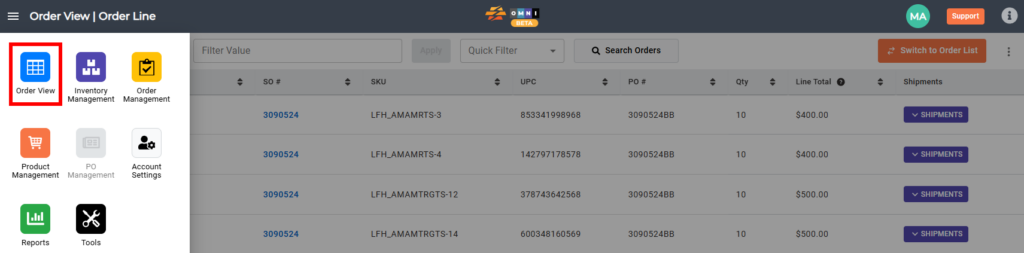
- Place the mouse arrow above the table header with column names.
- When the mouse pointer changes its look from arrow to cross, press and hold the left mouse button, and move the column to place it in the new position
- Release the left mouse button
