Inventory Management – Scan a Zone

This is how you scan or enter into a zone. Once in the zone, you can start scanning in products once you’ve locked the zone to start modifying.
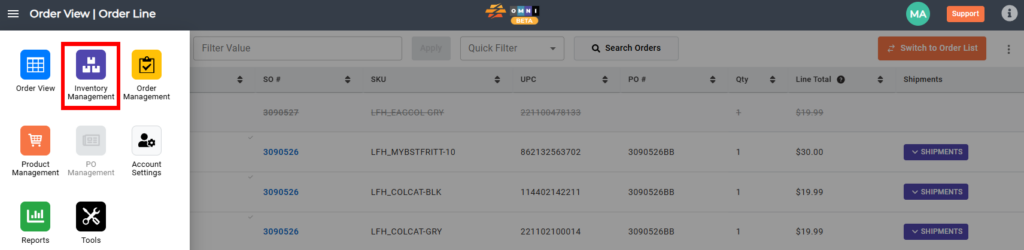
  1. Go to the main menu.

B) Inventory Management selection

  1. Select “Inventory Management”
Inventory Management menu selection highlighted on the main dashboard, showing how to open the Inventory Management module from the order view screen.

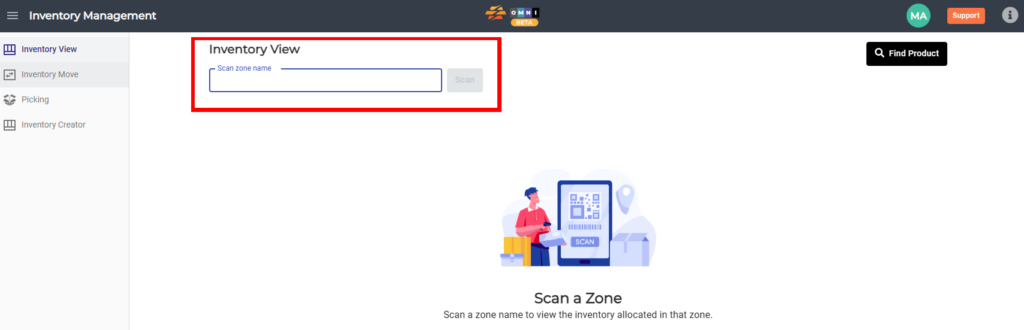
C) Inventory manipulating

  • Enter the “Scan zone name” field
Inventory View screen showing the highlighted Scan zone name input field used to enter or scan a warehouse zone and display inventory assigned to that zone.

D) Making / preview zone

  • Type zone name in combination form number-letter-number example: “1A1” or “11AA2
Inventory View interface showing the Scan zone name field with a zone code entered to create or preview a warehouse zone and view assigned inventory.

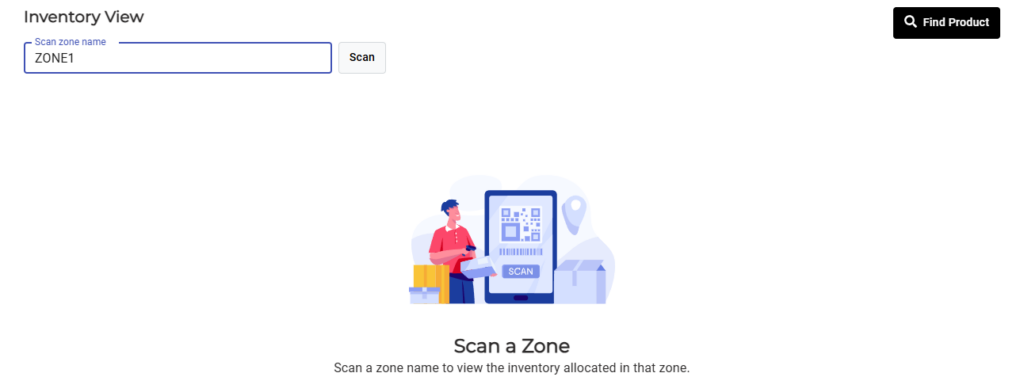
D) The last step before making / previewing zone

  • Press the “Scan” command button
  • You enter the zone. Notice: A zone will only be considered active once products have been scanned or entered into the zone
Inventory View showing the Scan button pressed to enter a zone, with zone ZONE1 displayed as unlocked and active before adding inventory.