
This section will guide you through the process of moving products from one zone to another zone.
A) Main menu
- Go to the main menu.
B) Inventory Management selection
- Select “Inventory Management”
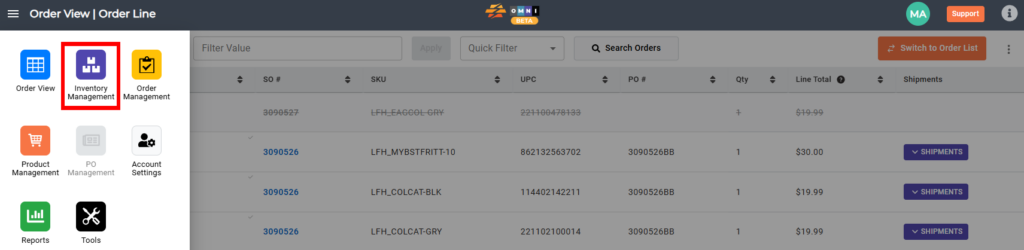
C) Inventory manipulating
- Select “Inventory Move” submenu

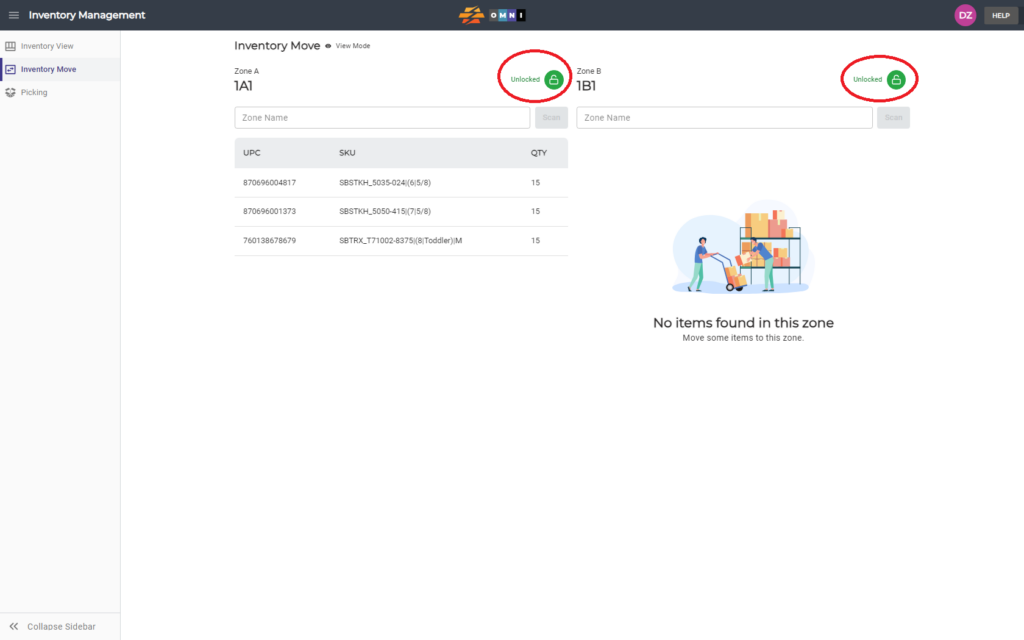
D) Prepare zones to move products
- Scan or enter the zone that you want to move products from into Zone A (origin zone)
- Confirm your choice by clicking on the “Scan” command button or using a scanner will enter it for you.
- Scan or enter the zone that you want to move products to into Zone B (target zone)
- Confirm your choice by clicking on the “Scan” command button or using a scanner will enter it for you.

D) Locking zones
- Lock both zones by clicking on the open padlock symbols command button (Tip: unlocked zones cannot be modified (Green)
- Notice the locked icon on both zones after locking (Red)
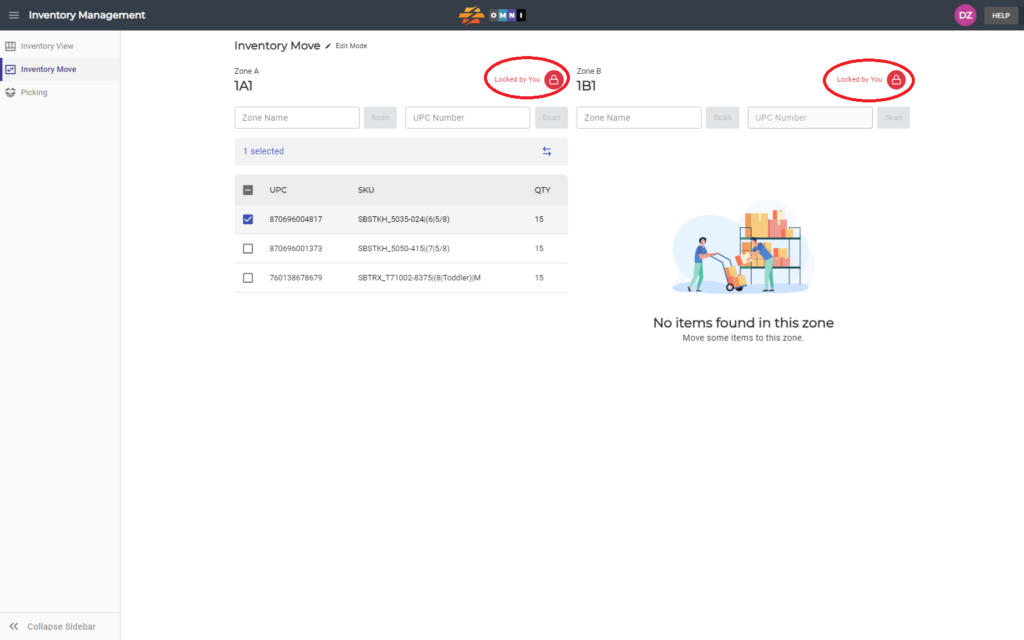
- Select the products you want to transfer from zone to zone by checking the checkbox in front of the UPC
- Press the command button with double arrows to transfer products